
Wood preparation
Buongiorno a tutti,
I am currently working on a top and getting ready to apply my wood preparation, which I always put both inside and outside.
Historically speaking, around 1600, italian makers started to use a certain treatment: a thin protein layer, which is very likely something similar to what I am going to explain you today.
To make this preparation you will need:
3 gr of casein
7 gr of water
10 gr of calcium, also a little bit more is Fne water based color (only for the maple back)
I leave the Frst two ingredients a little bit together, to let them create a paste. And then on the other side I measure the calcium.
I then hen I mix everything together very well, until I reach a more creamy consistency.
I apply this cream with a brush to the top and then take it oJ. You may need some water to spread it around better. You will feel that is is like a glue, but try your best to be neat with it and put it only on the side you are preparing.
You will notice that the wood will turn a little bit yellow, that is perfectly normal and it means the preparation is reacting and doing its job.
To take it oJ, I always wear a pair of gloves because I don’t want to get my hands dirty. With a cotton cloth soaked in water, I slowly take it oJ.
Now the wood will be very wet, don’t worry! If you do it on the inside of the top, remember to put some water also on the outside (and vice versa) so that it is not warping the shape.
Be sure to clean it very well, especially the f-holes.
Usually I pat it dry with some paper and let it dry in a standing pose: I want it to be breathing on both sides.
On the maple back I like to put a little bit of water based colors in the preparation and I mix it up. Don’t worry if it looks very dark, it will be Fne on the instrument. I make it colored to make it look more antiqued.
I put some water on the outside of the instrument event tho I will be working on the inside Frst, so that I can apply the label later.
I then use the same brush to apply it inside, both on the back and the sides.
You don’t want it to dry it up, so you have to be quick and spread it everywhere on the inside. Be sure to wear gloves so that you are not going to have patches of colored skin.
Then, I will try to take most of it oJ. Once it is done, you will recognize a certain color of wood that is particular to all Italian instruments.
If you like, you can take a clean brush with water to take oJ the preparation in tiny places, but I actually like the look of it without this step. It will already look very good, and remember: the more you use it the more you are going to be good at it and familiar with it. It is a quick step that looks good and I feel like makes a diJerence in the sound.
I hope you liked this tutorial, it is something I make to all of my master instruments and I really like.
Follow the step by step video here and let me know how you feel about it. Greetings from Cremona,
Edgar Russ
Read more
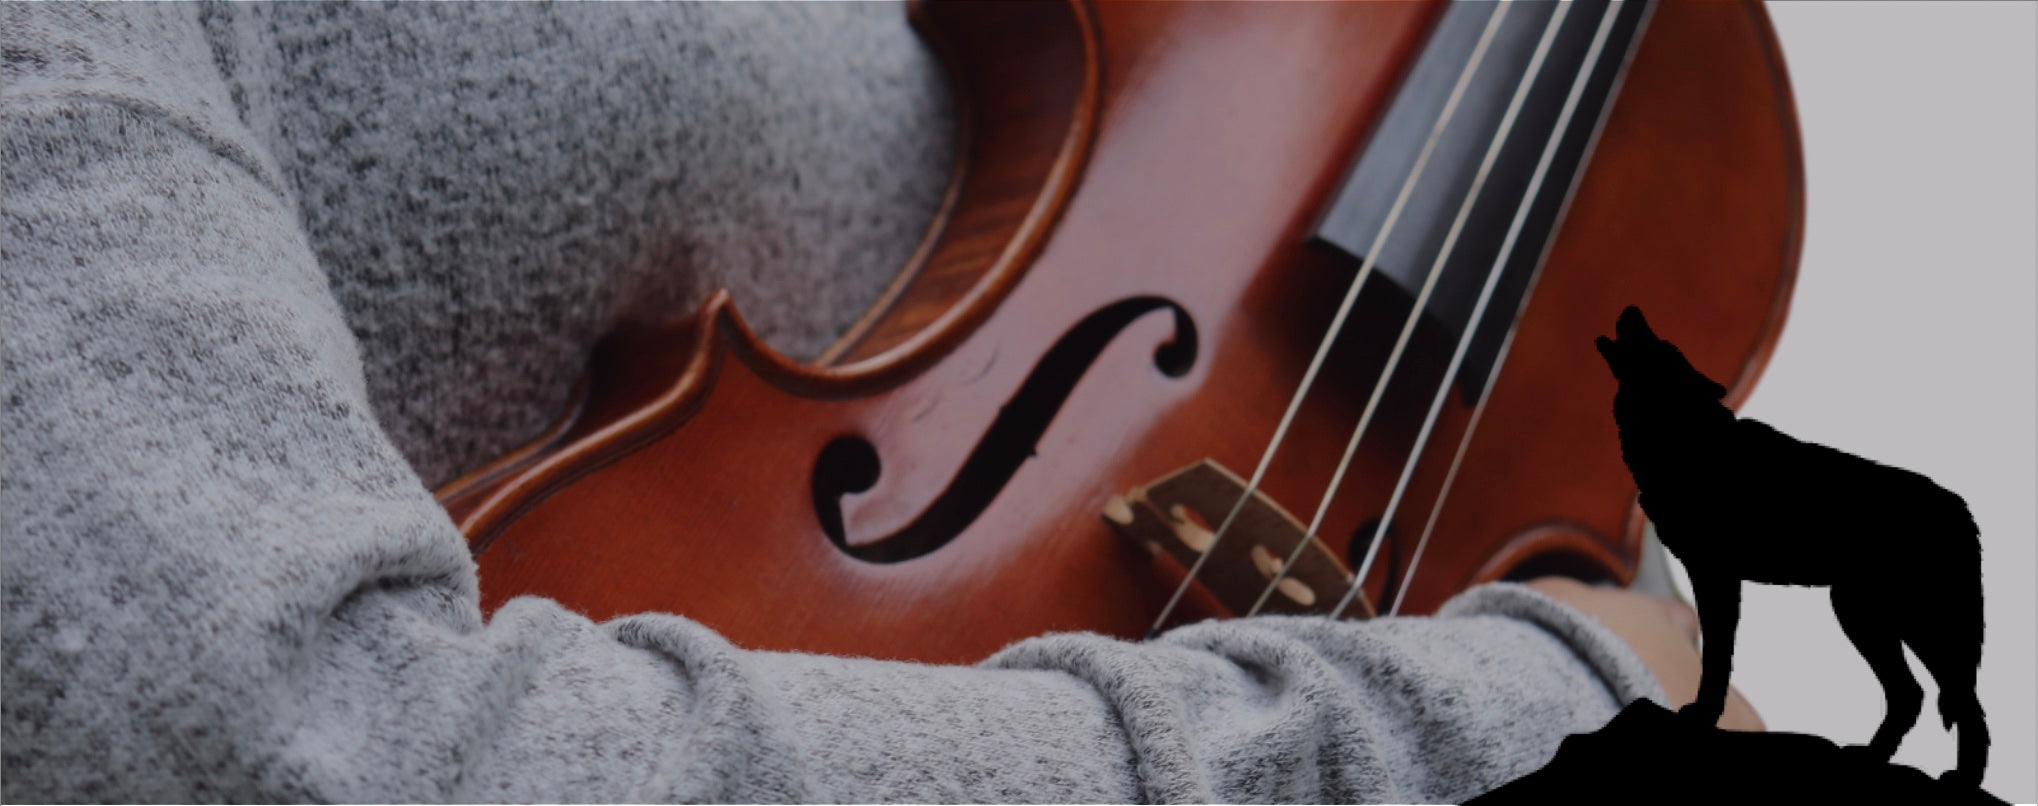
Hello hello! Today we will talk about wolf tones, a problem that concerns a lot of musicians: viola, viola, cello and double bass players all have at least once in their life had to face this ...
Read more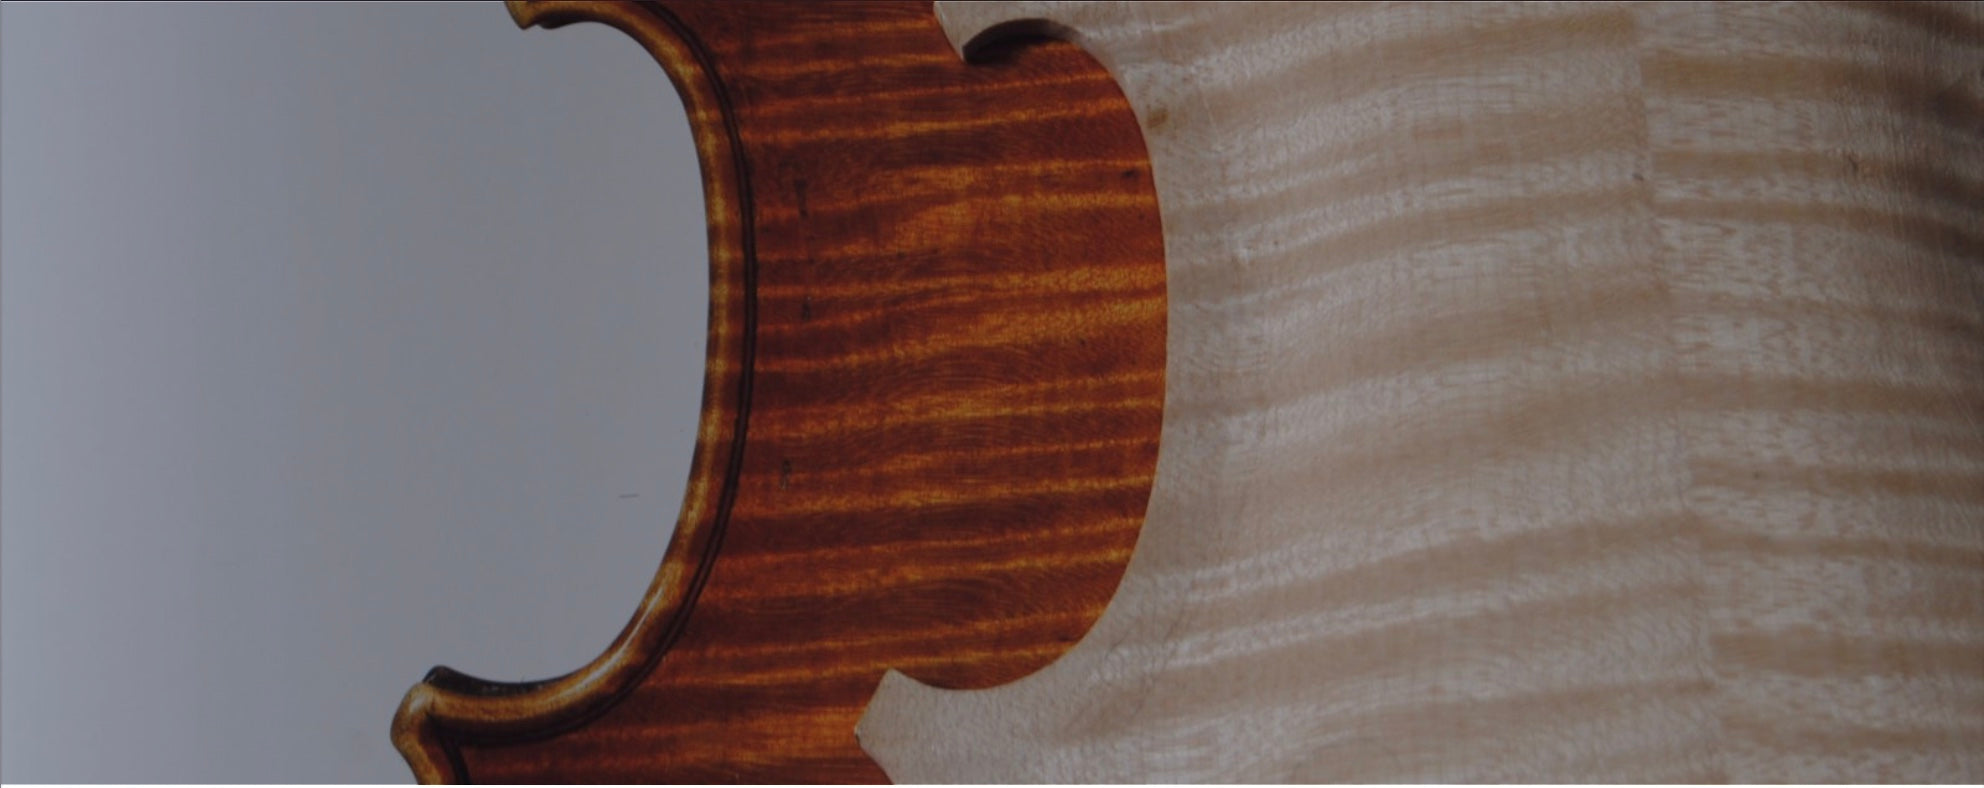
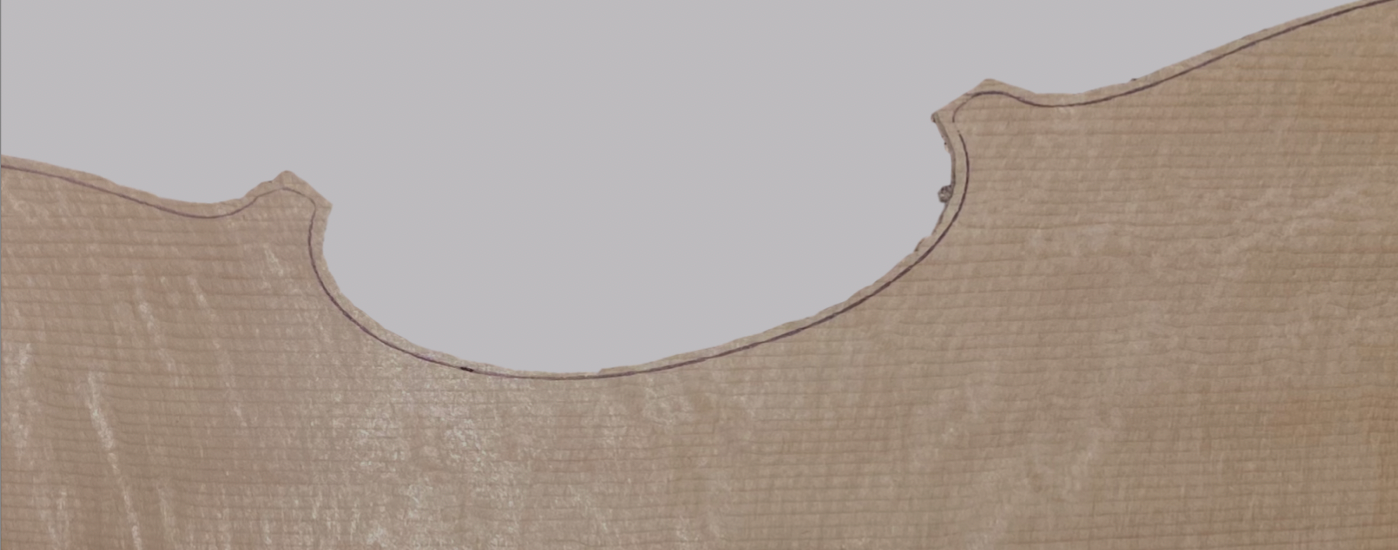
Hello! Today I collected some pieces of wood I am working on, where the next step is making the thicknesses. The question for today is “What happens if the thicknesses are not good? If the vio...
Read more
Leave a comment
This site is protected by reCAPTCHA and the Google Privacy Policy and Terms of Service apply.